Roof leaks are confusing to diagnose. Various conditions can cause roof leaks, and the original cause of the leak may be difficult to detect. Roof leaks must be repaired from the outside to ensure the problem is corrected. However, when it is not practical to climb up on the roof to fix a leak, you can repair a leaky roof temporarily from the inside, if you can determine where the leak is occurring from the underside of your roof.Your roof is designed to shield you and your family from bad weather. However, age, the elements as well as wear and tear can destroy your roof, which can result in water seeping inside your house. If your roof begins to leak, it’s best to act quickly. If left unattended, a leaking roof can result in serious water damage which can destroy your home’s structure. When your roof leaks, it poses a huge problem during all kinds of weather. But it is a much bigger emergency if there’s a heavy rainstorm. The heavy rainfall can quickly exploit what was a small hole and turn it into a much bigger problem inside your home. Water will quickly seep into sheetrock walls causing it to crumble and soak into the insulation. Time is of the essence if you want to avoid costly damages to your home.
Common Causes of Roof Leakage
Weather, such as high winds and hail, can damage your shingles either directly or by knocking overhanging tree branches against them.
Shingles don’t last forever. They usually come with a warrantied period of 15 to 50 years. As they age, they are more prone to damage from the weather.
Misdiagnosing the cause of leaks leads to further damage. If the cause isn’t apparent, contact a professional. Depending on the cause of the damage, insurance will often cover the replacement. Insurance companies typically require a licensed professional to attend to the roof.
Missing Shingles
Shingles come with a wind rating, indicating the weather forces they can withstand. Even so, winds can still rip a shingle off, creating a perfect path for water to enter your home.
Cracked or Damaged Shingles
Overhanging branches or hail can break the material, regardless of the type. Keep trees trimmed and purchase ones with a high hail rating.
Gaps
With age, wood swelling, and settling; gaps can form around flashing.
Broken or Worn Flashing
When flashing fails, replace it along with any adhesives and sealants.
How to Fix a Leaking Roof From the Inside
Have you ever wondered how to fix a leaking roof from the inside or if a project like this is even possible? You may be in need of a temporary solution. So, if you don’t own a ladder or the weather isn’t conducive to working outside, you can follow the tips below.
Tools You’ll Need to Fix a Leaking Roof From the Inside:
Caulking
Scraper
Flashlight
Utility Knife
Rubber Gloves
Nails
19 litre Bucket
Roof Patch (Tar)
Fixing The Roof
Keep in mind that these methods are considered temporary fixes. The only permanent solution to a leaking roof is a roof repair or replacement. But, depending on the age of your roof and the overall condition, this may help to buy you some time.
Finding Leaks
Finding exactly where the leak is coming from can be the most challenging part. One common cause of leaks in the home is that water has entered through the roof, and settled into a pool inside the ceiling. When this happens, your ceiling will become waterlogged and will start to bulge. You will need to get this water out right away. Get a large container and place it under the ceiling, then puncture the middle of the bulge to let the water flow freely. You’re already going to need to repair the ceiling, so this will allow the water to drip down instead of pooling more and damaging a wider area.Once you’ve addressed any damage coming into the house, get up into the attic around the location of the affected ceiling. Be careful not to step anywhere that doesn’t have support! You don’t want to do any more damage to your ceiling than has already been done. Using a bright flashlight, locate the affected area, and find the trail of water back to where it’s entering your roof.
Diverting The Water
You may not be able to seal the leak right away, especially if it’s raining and wet. A roof patch will not hold in wet conditions until it’s had time to cure.
You need to provide a path for the water to drain. The easiest way to do this is by sticking a nail into the hole. It will attract the water to it, and allow it to funnel in one direction.
Place a large 19 litre bucket under the area to catch any water that drains. Make sure the bucket is large enough in case it fills quickly.
Wait until the area is dry enough to seal the leaking area.
Fixing the Leak from the Attic
Once you’ve spotted the leak and found a way to get to it, you can patch it up temporarily with any durable material. Even a wooden plank or some spare shingling with roofing tar will do the trick. If you don’t have any on hand, head over to the hardware store and get some so that you fix the problem quickly.Spread the adhesive material over the leak from the attic and hold your patch in place until it’s secure. Then, apply some more tar where the patch meets the roof to lock it in. Take good note of where the leak is from the inside so that you can find it more easily once you can safely get up onto the roof outside.
Sealing The Leak
If the damaged area is already dry, you don’t need to use the above trick for diverting the water. You can go on to this next step of sealing the leak. If it has been raining, then you must wait for things to dry out before you can seal it.
Next, take a flashlight and shine it around to check for areas of dampness. These are usually easy to find because moisture causes darkness and mould.
Using marking chalk, draw a circle around the area that is problematic. This marking will help you to identify the problem when you make a more permanent repair.
The area must be dry enough for you to use the roof patch. Once you’ve found the leak, you can make a temporary leak patch from some plywood or shingle and some roofing tar. Use a putty knife to spread the tar into the leaking hole on the inside of your roof. Place the shingle or plywood onto the tar and spread more of the tar around the edges of your patch.
Once the roof patch has dried, use caulking to cover the edges and any holes that appear. You can use your finger to make sure you get the caulking spread around to the entire area.
Before you leave your attic, use a measuring tape to roughly map out where the leak is, so you can find it once the rain stops. After the rain has stopped and the sun is out, put on some rubber-soled shoes and use the same measurement to find the leaky area on the outside of your roof. You can add some more roofing tar to the area to complete your temporary patch.
For those who have wondered how to fix a leaking roof from the inside, you will see it’s fairly simple.
Rooftop Safety Tips
Before going up on your roof to look for the cause of a leak or to temporarily fix a leaking roof, make sure to review and follow these rooftop safety tips.If you don’t have the tools necessary, do what you can to manage the leak from inside the house on the ground-level until professional help arrives.
Don’t take risks
If you’re fearful of heights or have a particularly steep and/or high-up roof, or a roof made of slate or tile, it’s best to manage roof leaks as best you can from inside the house and attic. In such cases avoid going up on the roof.Fixing a roof leak isn’t worth the potential harm to yourself or damage to your roof if you’re not well prepared.
Wait for better weather
When you notice your roof leaking, the chances are high that it’s raining or has been raining heavily.While it can be tempting to go up to the roof immediately to check things out, you should always wait until the weather clears up and is no longer rainy, windy, or showing signs of lightning.
Follow the buddy system
We recommend never going up on your roof alone. If there’s an accident of any kind, you need someone there to help. A partner can also be helpful when you need materials passed up to you from below.
Use your ladder correctly
Make sure your ladder is in good condition and set on a firm and level surface. Your ladder should extend at least three rungs above the edge of your roof so that it can be easily accessed on the way down.Have someone hold the bottom of your ladder while you ascend and descend to help keep the ladder stable. You can also apply tie-down straps from the gutter spikes to the ladder to reduce movement.Avoid carrying anything up or down the ladder.
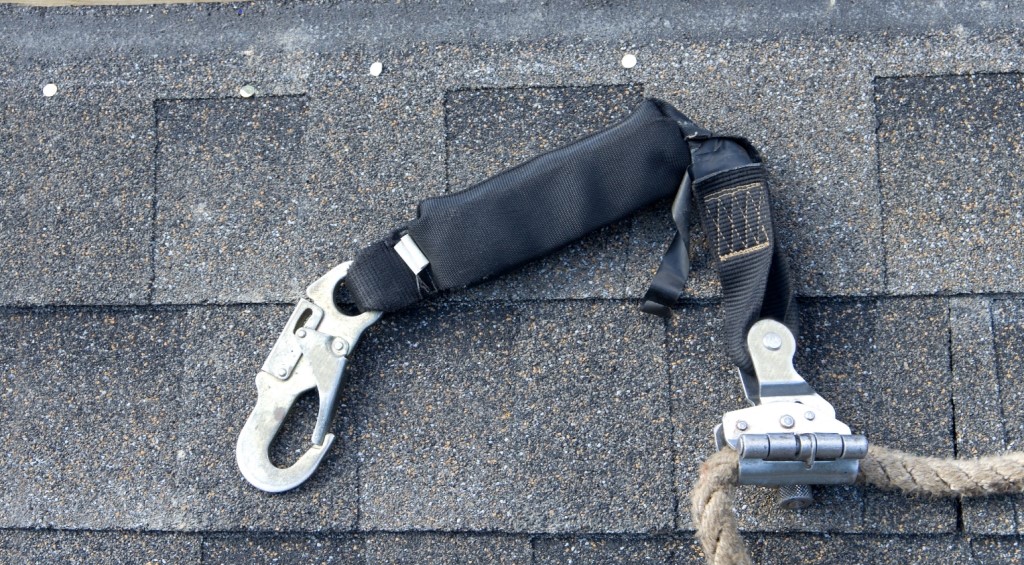
Wear the right gear
Any time you go on the roof, you need to wear solid shoes or boots with rubber soles and superior traction to help reduce slipping. In some states, a safety harness is required to work on roofs that are more than 10 feet high. If the sun is out, make sure to wear a long-sleeved shirt and sunscreen to protect you from damaging rays.
Can’t Get to the leak?
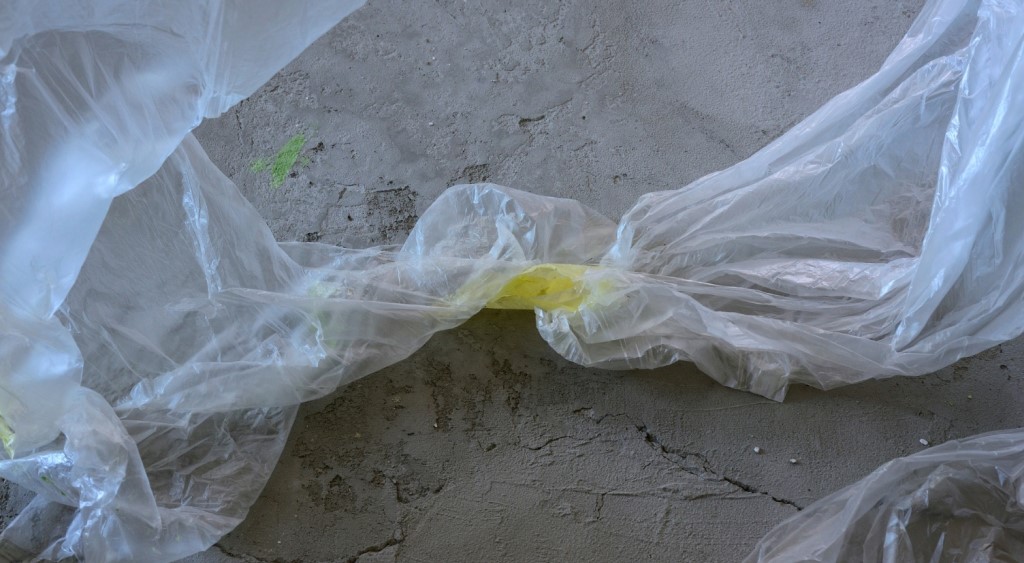
If you don’t have an attic or if you can’t locate the leak yourself, then you’ll need to get some kind of tarp covering over the roof as soon as possible. Manage the leak indoors until the precipitation stops; this may mean manually bucketing out water from your leaky ceiling for a while. Once it’s dry outside, it’s safe to get up on your roof to cover it up.Until your local roofers arrive, you’re going to throw a plastic tarp over the roof to help keep water off of it altogether. This might take a quick trip to the hardware store, where you can purchase rolls of sheet plastic tarping in large quantities. Make sure you get enough 1.2 metre rolls to go all the way around the eaves of your roof where the leak is starting, or the whole house if you can’t locate the leak at all. You’ll also need wooden planks (2x4s are good) to help hold the covering in place.You’ll need to know how big your roof is, or else, you’ll have to get up and measure the distance between the eaves and ridges, and the width of each facet of the roof. Roll out a section of covering that’ll stretch from the eaves to the ridge, then go about five 1.5 metres long, and slice off the sheet. Now, you can fold out the covering to make a 2.4 metre section.
What can I do if I can’t find the leak?
If you can’t find the leak in your roof, you will need to cover it quickly with some plastic roof covering. This also goes for homes where there is no attic or attic access. Follow these steps to protect your home if you can’t do a temporary patch.
Buy & Prep The Roof Plastic
You likely don’t keep roof plastic just hanging out in a closet. So, you’ll have to head to the hardware store or call for help. Plastic roof covering comes in around 1.2 metre rolls of polyethylene. Buy some and head home to get it placed on your roof. You’ll also need some 2.4 metre 2×4’s to act as anchors for your roof covering.
Cut The Plastic To Length
You’ll want to unroll the plastic with a little more length to run from the top of the roof (the ridge) to the edge of your roof (the eave). Don’t unfold your covering yet and cut it to length with a utility knife. You can use one of your 2×4’s as a guide to making the cut as straight as possible. Once it is cut to the length, you will unfold it to make a section that is long enough for your roof, and about 8 feet wide.
Attach The Cover To 2x4s
Roll one of the ends around a 2.4 metre 2×4 and use a utility staple gun to attach it to the wood. Take a second 2×4 and sandwich the plastic between them, then nail the 2×4’s together. Do the same thing on the other end of your plastic roof covering to finish preparing your cover.
Place The Cover On The Roof
It should go without saying that safety comes first. If there’s lightning, or if you don’t have the ability or the right equipment to get this done; you should be calling for emergency roof repair.If you’ve got rubber-soled shoes, a saw to cut the 2×4’s, a ladder, and some courage to jump on your roof, take up your cover and set one pair of the 2×4’s over the ridge and then stretch the rest to go down to the eave.This is the general outline of how you would fix a leak from the inside on your own.. There are many online sources, videos, blogs, and other sites to train you on how to fix these holes.You may have some friends who can help, and if you are really not sure of yourself when it comes to DIY roofing, that’s okay. If you have no idea what you’re doing, and you’re not too handy, we suggest that you call the roofers or the handyman. This way, you know that they can fix the leaks without causing any further damage.The best way to manage leaks is with the help of professional roofers. While you can mitigate the damage from a roof leak in the short term, the only way to truly repair a leak is with professional materials and applications.We understand that all of this can be a little overwhelming and scary at times, and that’s why we’re here to help. We’ve been able to assist many people like yourself through the entire process, from start to finish. We carry out professional roof restorations, repairs, and replacements all year-round. Simply reach out to us, and one of our friendly and experienced staff members will contact you as soon as possible.


 Any time you go on the roof, you need to wear solid shoes or boots with rubber soles and superior traction to help reduce slipping.
In some states, a safety harness is required to work on roofs that are more than 10 feet high. If the sun is out, make sure to wear a long-sleeved shirt and sunscreen to protect you from damaging rays.
Any time you go on the roof, you need to wear solid shoes or boots with rubber soles and superior traction to help reduce slipping.
In some states, a safety harness is required to work on roofs that are more than 10 feet high. If the sun is out, make sure to wear a long-sleeved shirt and sunscreen to protect you from damaging rays.
 Make sure you get enough 1.2 metre rolls to go all the way around the eaves of your roof where the leak is starting, or the whole house if you can’t locate the leak at all. You’ll also need wooden planks (2x4s are good) to help hold the covering in place.
You’ll need to know how big your roof is, or else, you’ll have to get up and measure the distance between the eaves and ridges, and the width of each facet of the roof.
Roll out a section of covering that’ll stretch from the eaves to the ridge, then go about five 1.5 metres long, and slice off the sheet. Now, you can fold out the covering to make a 2.4 metre section.
Make sure you get enough 1.2 metre rolls to go all the way around the eaves of your roof where the leak is starting, or the whole house if you can’t locate the leak at all. You’ll also need wooden planks (2x4s are good) to help hold the covering in place.
You’ll need to know how big your roof is, or else, you’ll have to get up and measure the distance between the eaves and ridges, and the width of each facet of the roof.
Roll out a section of covering that’ll stretch from the eaves to the ridge, then go about five 1.5 metres long, and slice off the sheet. Now, you can fold out the covering to make a 2.4 metre section.