
Embarking on a journey of roof restoration brings a blend of challenges and rewards, particularly for those who choose the DIY path.
This blog goes into the intricacies of DIY roof restoration, examining the benefits and potential pitfalls of tackling such a project on your own. From cost savings and project control to safety concerns and quality of work, we'll explore the many facets of this home improvement venture.
Additionally, we'll provide a comprehensive guide on the tools and materials needed, as well as the step-by-step process to ensure your DIY roof restoration is successful and satisfying.
Whether you're a seasoned DIY enthusiast or a homeowner looking to take on your first major project, this blog aims to equip you with the knowledge and confidence to restore your roof effectively.
What Are The Benefits Of DIY Roof Restoration?
Undertaking a DIY roof restoration project can be a rewarding and cost-effective endeavour. While it requires a significant investment of time and effort, many homeowners find the benefits outweigh the challenges. Here are some of the key advantages of taking on a DIY roof restoration.
Cost Savings
One of the most compelling reasons homeowners consider DIY roof restoration is the potential for significant cost savings. By handling the project yourself, you can eliminate labour costs, which often constitute a large portion of the overall expense when hiring professionals. Additionally, you can shop around for the best deals on materials, possibly finding discounts or using leftover supplies from previous projects.
Control Over the Project
When you undertake a roof restoration on your own, you have complete control over every aspect of the project. This means you can choose the exact materials and products that match your preferences and budget. Moreover, you can set your own timeline, working at a pace that suits you. This flexibility can be particularly beneficial if you need to balance the project with other personal or professional commitments.
Learning Experience
Engaging in a DIY roof restoration project offers an invaluable learning experience. As you progress through the various stages of the project, you'll gain a deeper understanding of your home's structure and the intricacies of roofing systems. This hands-on experience can be both fulfilling and educational, equipping you with skills that may be useful for future home improvement projects.
Personal Satisfaction
There is a unique sense of accomplishment that comes with completing a home improvement project on your own. Successfully restoring your roof can provide a tremendous boost to your confidence and pride in your home. This personal satisfaction is something that cannot be quantified but is undoubtedly one of the most rewarding aspects of DIY projects.
Customisation and Personal Touch
When you restore your roof yourself, you have the opportunity to add personal touches that reflect your style and preferences. Whether it's selecting unique shingles, adding custom ventilation features, or choosing specific colours, you can tailor the project to meet your aesthetic and functional desires. This level of customisation is often harder to achieve when working with contractors who may have set methods and materials they prefer to use.
Immediate Attention to Issues
As a homeowner, you are the first to notice any problems with your roof. By opting for a DIY approach, you can address issues immediately rather than waiting for a professional to become available. This prompt attention can prevent minor problems from escalating into major repairs, ultimately saving you time and money.
Environmental Considerations
DIY roof restoration allows you to make environmentally conscious choices. You can opt for sustainable materials, implement energy-efficient solutions, and recycle old roofing materials. These choices not only benefit the environment but can also enhance your home's energy efficiency and reduce utility bills.
What Are The Risks And Challenges Of DIY Roof Restoration?
DIY roof restoration might seem like a cost-effective and rewarding project, but it comes with several risks and challenges that homeowners should carefully consider. While the allure of saving money and taking control of the project is strong, the potential downsides can be significant. Here are the primary risks and challenges associated with DIY roof restoration.
Safety Concerns
One of the most significant risks of DIY roof restoration is safety. Working on a roof is inherently dangerous due to the height and the steep angles involved. Falls from roofs can result in severe injuries or even fatalities. Professional roofers use specialised safety equipment, including harnesses, guardrails, and safety nets, to mitigate these risks. Most homeowners lack this equipment and the training to use it properly, increasing the danger.
Lack of Expertise
Roofing is a skilled trade that requires extensive knowledge and experience. DIY enthusiasts often underestimate the complexity of roofing work. Without proper training, you might make mistakes that compromise the integrity of the roof. For instance, improper installation of shingles can lead to leaks, poor ventilation, and other issues that may not be immediately apparent but can cause significant damage over time.
Quality of Work
Professional roofers bring years of experience and craftsmanship to their work. They understand the nuances of roofing systems and how to execute repairs and restorations correctly. As a DIYer, you may not achieve the same level of quality, leading to a roof that may look good initially but fails to perform adequately. Poor workmanship can result in leaks, structural damage, and the need for further repairs sooner than expected.
Time and Effort
Roof restoration is a labour-intensive and time-consuming process. It requires a considerable amount of physical effort and can be extremely demanding, especially for those not accustomed to such work. Additionally, balancing a DIY roof project with other responsibilities can be challenging, potentially leading to delays and extended project timelines. Professional roofers can complete the job more efficiently, minimising disruption to your daily life.
Inadequate Problem Diagnosis
Identifying the root cause of roofing issues requires expertise. As a DIYer, you might not be able to accurately diagnose underlying problems, such as structural damage, moisture issues, or insulation deficiencies. Addressing only the visible symptoms without fixing the underlying causes can result in recurring issues and further damage to your home.
How Do The Costs Compare Between DIY And Professional Roof Restoration?
When it comes to roof restoration, one of the most significant decisions homeowners face is whether to take on the project themselves or hire a professional. Both options come with their own sets of costs, benefits, and challenges. Understanding these differences can help you make an informed decision that best suits your budget and needs.
Initial Costs: DIY Roof Restoration
- Tools and Equipment: A substantial portion of the initial investment in a DIY project goes toward purchasing tools and safety equipment. These include ladders, roofing nails, shingles, hammers, pry bars, and safety harnesses. While these tools can be reused for future projects, the upfront cost can be significant.
- Materials: Homeowners can often find good deals on roofing materials, but they might not have access to the same quality or variety that professionals can obtain. This can sometimes lead to higher material costs or the need to settle for lower-quality products.
- Permits: Depending on your location, you may need to obtain permits for roof restoration, which can add to the initial cost.
Initial Costs: Professional Roof Restoration
- Service Fees: Hiring a professional involves paying for labour, which can be costly but ensures expertise and efficiency. Professional fees vary based on the size and complexity of the job, as well as the contractor’s reputation and location.
- Material Costs: Professionals often have access to better pricing on materials due to their relationships with suppliers. They can source high-quality materials at lower prices than the average homeowner.
- Insurance and Licensing: Professional roofers are usually licensed and insured, adding a layer of financial protection for the homeowner in case of accidents or issues with the workmanship.
Long-term Costs: DIY Roof Restoration
- Potential for Mistakes: Mistakes made during a DIY restoration can lead to costly repairs down the line. Issues such as improper installation, leaks, or structural damage might not be immediately apparent but can result in significant expenses over time.
- Maintenance: DIY restorations may require more frequent maintenance if the initial work is not done to a professional standard. This can lead to additional costs for repairs and upkeep.
Long-term Costs: Professional Roof Restoration
- Warranties: Professional roofers often provide warranties for their work, offering peace of mind and financial protection against future issues. This can result in long-term savings if problems arise.
- Durability: High-quality workmanship and materials used by professionals can extend the lifespan of your roof, reducing the need for frequent repairs and replacements.
What Tools And Materials Are Needed For DIY Roof Restoration?
Embarking on a DIY roof restoration project can be a fulfilling and cost-effective way to improve your home. However, the key to a successful project lies in thorough preparation, which includes gathering the right tools and materials. This comprehensive guide will help ensure you have everything needed for a smooth and safe DIY roof restoration.
Safety Equipment
- Safety Harness and Roof Anchors: Safety is paramount when working at heights. A safety harness, secured with roof anchors, is critical to prevent falls and ensure you can work with confidence.
- Roofing Boots: These boots are designed to provide extra grip and stability on sloped surfaces, reducing the risk of slipping.
- Gloves and Safety Goggles: Protect your hands from sharp edges and splinters with sturdy gloves, and safeguard your eyes from debris with safety goggles.
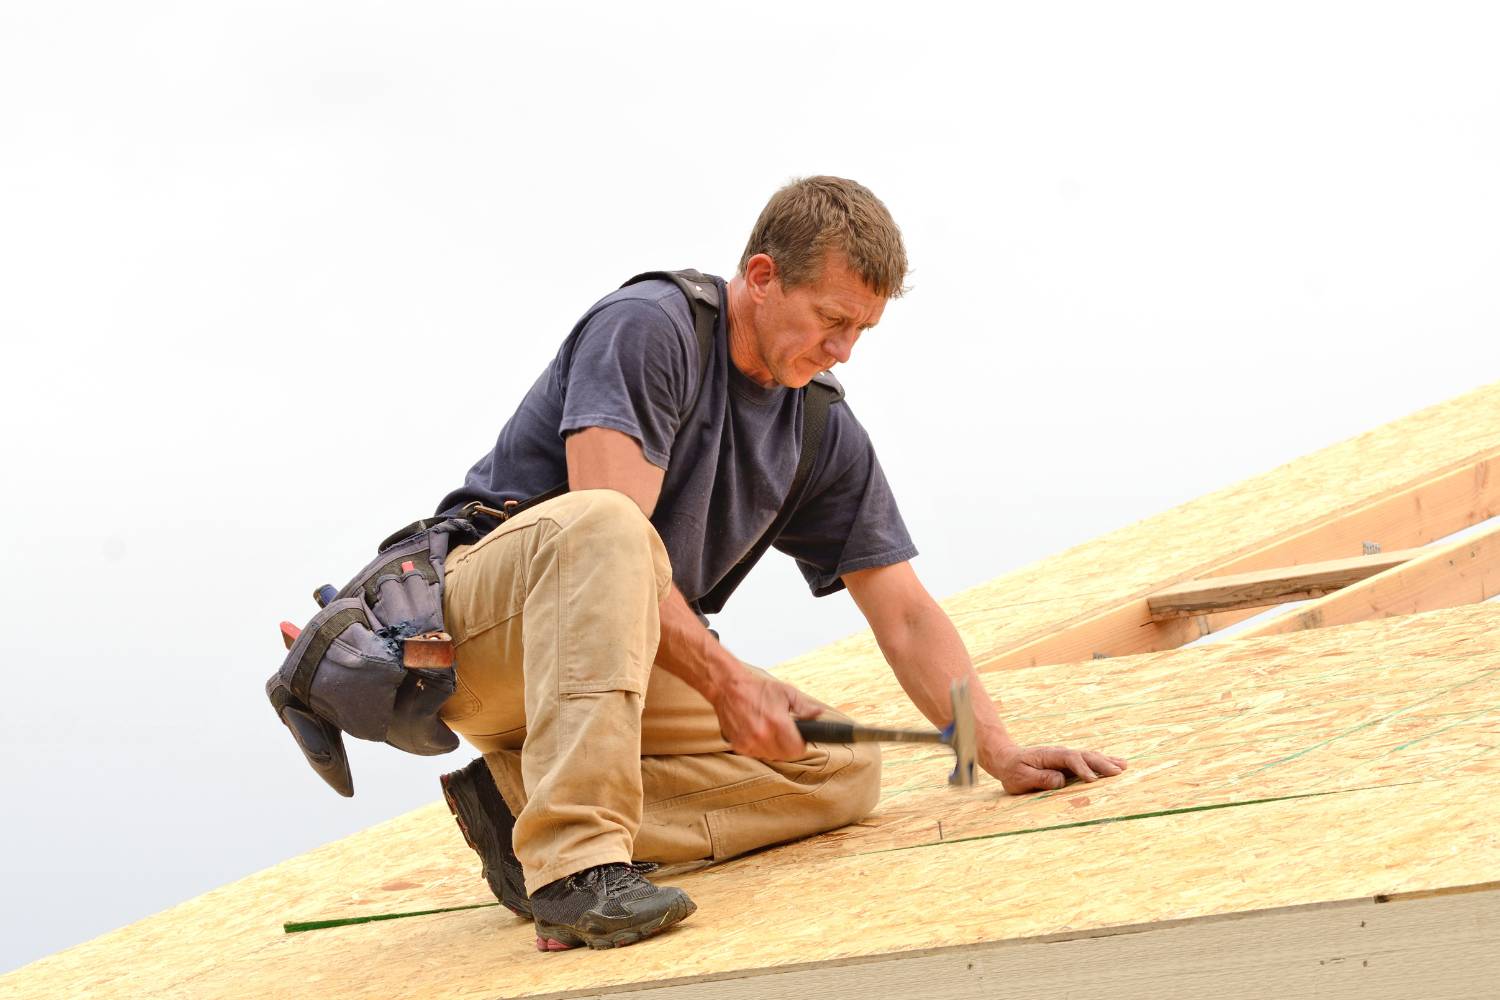
Basic Roofing Tools
- Hammer or Roofing Nailer: A hammer is indispensable for driving nails into shingles. For larger projects, a roofing nailer can save time and ensure nails are driven to the correct depth, providing better security for the shingles.
- Utility Knife: This versatile tool is essential for cutting shingles and underlayment to the required size.
- Pry Bar: Useful for removing old shingles, nails, and other materials without damaging the roof deck.
- Tape Measure: Accurate measurements are crucial for cutting materials correctly and ensuring proper alignment of shingles.
- Chalk Line: This tool helps mark straight lines on the roof, ensuring your shingles are laid evenly and straight.
- Trowel and Roofing Cement: These are used to apply roofing cement to secure shingles and seal any leaks or gaps.
Advanced Tools
- Circular Saw: This power tool is handy for cutting through various roofing materials, particularly when you need to replace sections of the roof deck.
- Ladder: A sturdy, extendable ladder is essential for safely accessing your roof. Ensure it’s tall enough to reach your roof comfortably and securely.
- Tin Snips: These are used for cutting through metal flashing and other metal components, allowing for precise cuts.
- Caulking Gun: Essential for applying roofing sealant around vents, chimneys, and other protrusions to prevent leaks.
What Are The Steps Involved In A DIY Roof Restoration?
Roof restoration is a significant yet rewarding project that can save homeowners money and extend the life of their roofs. This comprehensive guide outlines the essential steps involved in a DIY roof restoration, providing detailed instructions and expert tips to help you achieve professional-quality results.
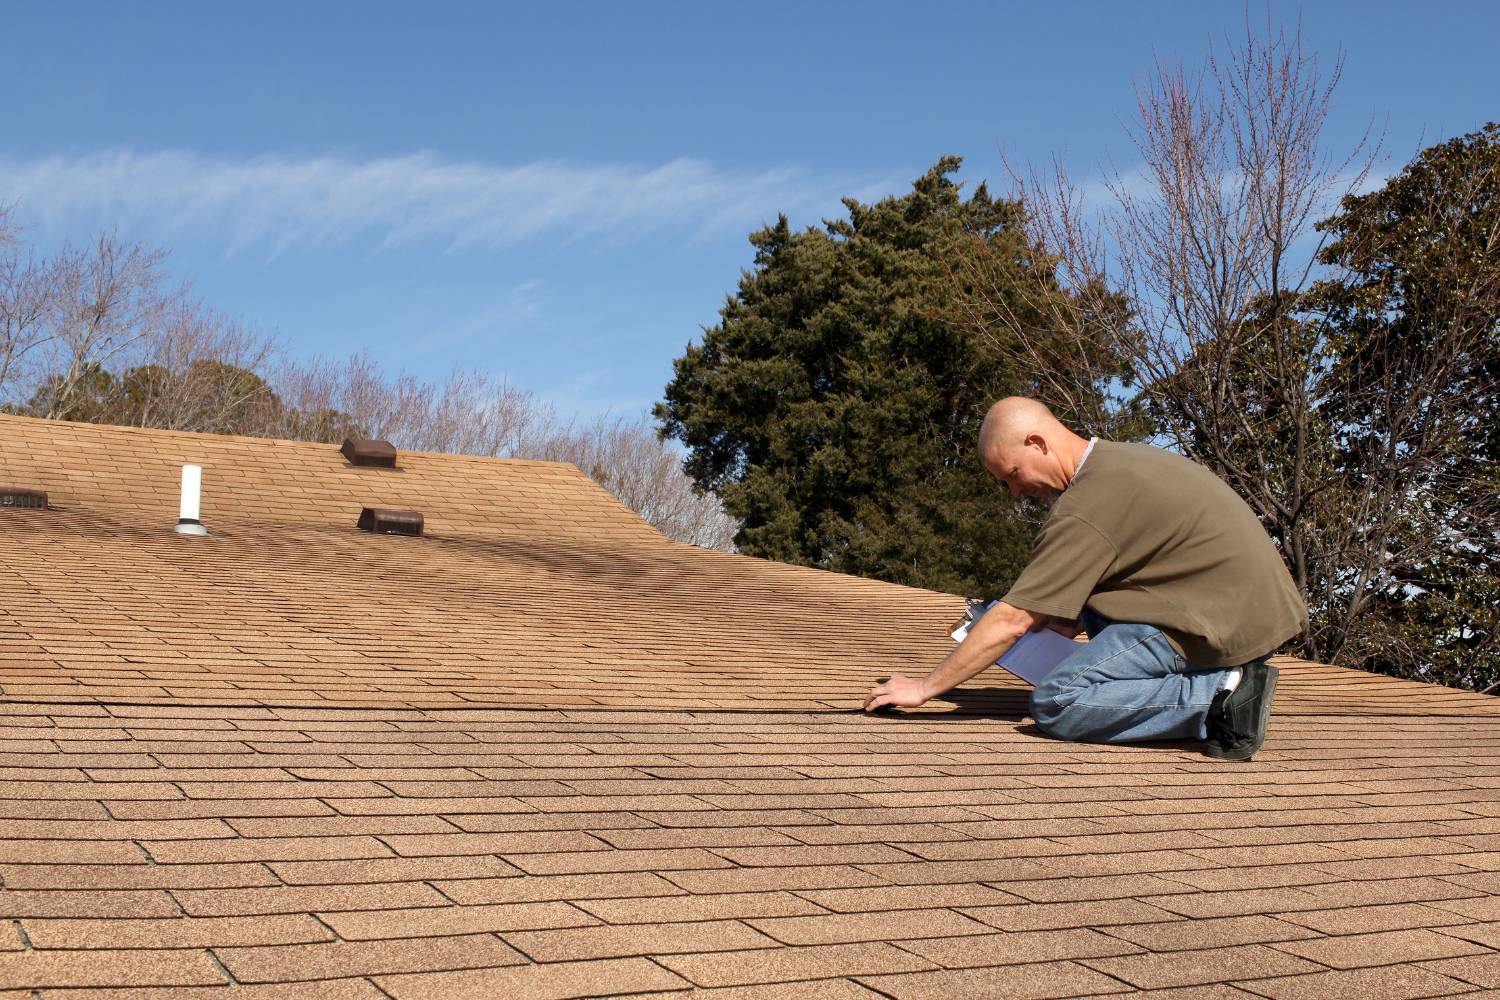
Roof Assessment
The first step in any roof restoration project is a thorough roof assessment. Begin with a visual inspection from the ground, using binoculars to spot obvious damage such as missing shingles, sagging areas, or large debris. Once you’ve identified areas of concern, carefully walk on the roof to inspect it more closely.
Look for less obvious damage such as small cracks, punctures, or loose shingles, paying special attention to vulnerable areas like valleys, flashing, and regions around chimneys and vents. Additionally, check your attic for signs of leaks or water damage, which may indicate roof issues not visible from the exterior.
Safety is paramount during this process; ensure you wear non-slip boots and a safety harness, and avoid working in wet or windy conditions to minimise the risk of accidents. Document all damage by taking detailed photos, which will help guide the repair process and can be useful for insurance claims.
Roof Cleaning
After assessing the roof, the next step is to clean it thoroughly. Start by manually removing large debris such as branches and leaves, with a soft-bristle broom. Then, use a high-pressure hose to wash away accumulated dirt, moss, and algae. Take care not to damage the shingles or underlying structure during this process.
Cleaning the gutters is equally important; remove all debris to ensure proper drainage, preventing water from backing up and causing damage to the roof and walls. During the cleaning process, observe if water is penetrating the roof in any area and mark these spots for targeted repairs. This step not only prepares the roof for repair but also helps identify and address potential leaks and weaknesses.
Roof Repairs
Once the roof is clean, it’s time to focus on repairs. Begin by replacing or repairing damaged shingles, tiles, or metal sheets. For shingle roofs, remove damaged shingles by lifting the edges and pulling out the nails, then slide new shingles into place and secure them with roofing nails. For tiled roofs, replace cracked or broken tiles by lifting the surrounding tiles and sliding the damaged one out, inserting the new tile so it fits snugly.
If you have a metal roof, patch any punctures or holes with appropriate metal patches and sealants. Ensure you have all necessary tools, including hammers, roofing nails, roofing shovels, caulk guns, utility knives, and tin snips, and always wear protective gear such as gloves, safety goggles, and a hardhat to prevent injuries during the repair process.
Installing Underlayment and Flashing
With the repairs complete, the next step is to install the underlayment and flashing. Start by laying a waterproof underlayment, beginning at the lowest part of the roof and rolling it out horizontally. Overlap each layer by at least two inches to ensure complete coverage and protection. Secure the underlayment with roofing nails or staples, making sure it lies flat and smooth.
Next, nail down felt paper over the underlayment, starting at the bottom and working your way up, overlapping each strip according to the manufacturer’s instructions. The felt paper adds an extra layer of moisture protection and should cover the entire roof surface.
Install flashing around areas prone to leaks, such as valleys, chimneys, skylights, and vents. Measure and cut the flashing to fit snugly around these features, securing it with roofing nails and applying a waterproof sealant to edges and joints to prevent water infiltration.
Applying New Shingles
The most visible part of the roof restoration process is the application of new shingles. Begin with starter shingles along the eaves to provide a secure base for the rest of the shingles, ensuring a slight overhang for proper water drainage. Lay the shingles in rows, starting from the bottom and working upwards, overlapping each row to prevent water infiltration.
Use roofing nails to secure the shingles, following the manufacturer’s guidelines for nail placement and spacing, and ensure the rows are straight and aligned for an aesthetically pleasing finish. Finish the installation by placing ridge cap shingles along the roof’s peak.
Overlap the tabs and secure them with roofing nails, then apply roofing adhesive to the exposed nail heads to prevent water infiltration. This step not only protects your home from the elements but also enhances its curb appeal.
Final Steps and Clean-Up
After installing the new shingles, conduct a final inspection to ensure all areas are properly restored and no damage is overlooked. Perform a post-job assessment by walking around the roof and inspecting for any loose shingles, missed spots, or areas needing additional attention.
Use a hose to simulate rainfall and check for leaks. Once satisfied with the restoration work, clean up the work area by clearing all debris, nails, and unused materials. Ensure no sharp objects are left behind that could pose a hazard.
Restore the surrounding area by removing protective coverings from plants and landscaping, and sweep and clean the site thoroughly. If any aspect of the restoration seems beyond your capabilities or if you encounter challenges, consider consulting a professional roofer. They can provide expert advice or assistance to ensure the job is done correctly and safely.
Conclusion
Taking on a DIY roof restoration project can be an empowering and cost-effective way to enhance your home's value and functionality. Throughout this blog, we’ve explored the various benefits of DIY roof restoration, from cost savings and project control to personal satisfaction and environmental considerations. We’ve also discussed the significant risks and challenges, including safety concerns, the potential for mistakes, and the extensive time and effort required.
Equipped with a comprehensive guide on the necessary tools and materials, as well as a detailed step-by-step process, you are now prepared to make an informed decision about whether a DIY roof restoration is right for you.
Remember, while the DIY route can be rewarding, it's essential to weigh the pros and cons carefully and consider consulting a professional if you encounter difficulties or have concerns about the project's complexity. With the right approach and preparation, your DIY roof restoration can be a successful and fulfilling endeavour, ensuring your home remains safe, efficient, and beautiful for years to come.
Frequently Asked Questions
DIY roof restoration offers several benefits, including significant cost savings by eliminating labour costs, complete control over the project allowing for material and budget choices, a valuable learning experience about your home's structure, a sense of personal satisfaction from completing the project, and the ability to add custom touches that reflect your style.
Safety is a significant concern in DIY roof restoration due to the inherent dangers of working at heights and on steep angles. Falls from roofs can result in severe injuries or fatalities. Most homeowners lack the specialised safety equipment and training that professional roofers use, such as harnesses, guardrails, and safety nets, increasing the risk of accidents.
While DIY enthusiasts may achieve satisfactory results, professional roofers bring years of experience and craftsmanship to their work, ensuring high-quality and durable results. DIY projects may not achieve the same level of quality, leading to potential issues such as leaks, poor ventilation, and structural damage that could require further repairs sooner than expected.
The long-term costs of DIY roof restoration can include the potential for mistakes that lead to costly repairs, more frequent maintenance if the initial work is not up to professional standards, and the lack of warranties that professional roofers often provide. These warranties offer peace of mind and financial protection against future issues, potentially resulting in long-term savings.
Essential tools and materials for a DIY roof restoration include safety equipment like harnesses, roofing boots, gloves, and safety goggles. Basic roofing tools such as hammers or roofing nailers, utility knives, pry bars, tape measures, chalk lines, trowels, and roofing cement are necessary. Advanced tools like circular saws, ladders, tin snips, and caulking guns are also recommended for a thorough and efficient project.