Waterproofing the garage floor will protect your investment and provide you peace of mind. This is an excellent way to protect your investment. If you haven't yet waterproofed the floor of your garage, there are a few things you should know before you start. This ensures that the final output is exactly what you envisioned. This blog post will go over some of those critical points in further depth.
How To Waterproof Your Garage Floor
It's probable that your garage floor is constantly subjected to strenuous operations like lifting heavy goods. It will have to handle the weight of your vehicles as well as other rough activities, all of which might result in chipping, scratching, or denting of the surface. A considerable proportion of homeowners also use their garages for industrial or craft-related work. It's not unexpected that the floor is quickly damaged or worn.
Waterproofing Options
When it comes to waterproofing your garage, you have a number of various alternatives available to choose from. These are the following:
- Crystalline concrete agent – This is a long-lasting solution that does not call for any additional applications. As the crystals grow along with the concrete, they fill in the voids and pores to provide a barrier that is impermeable to water. And in the event that cracks do occur, the crystals can be reactivated to restore the waterproofing and fill in the spaces.
- Paint or epoxy that is waterproof — After applying the paint or epoxy directly onto the walls and floor, you should wait for it to dry and cure for a number of days.
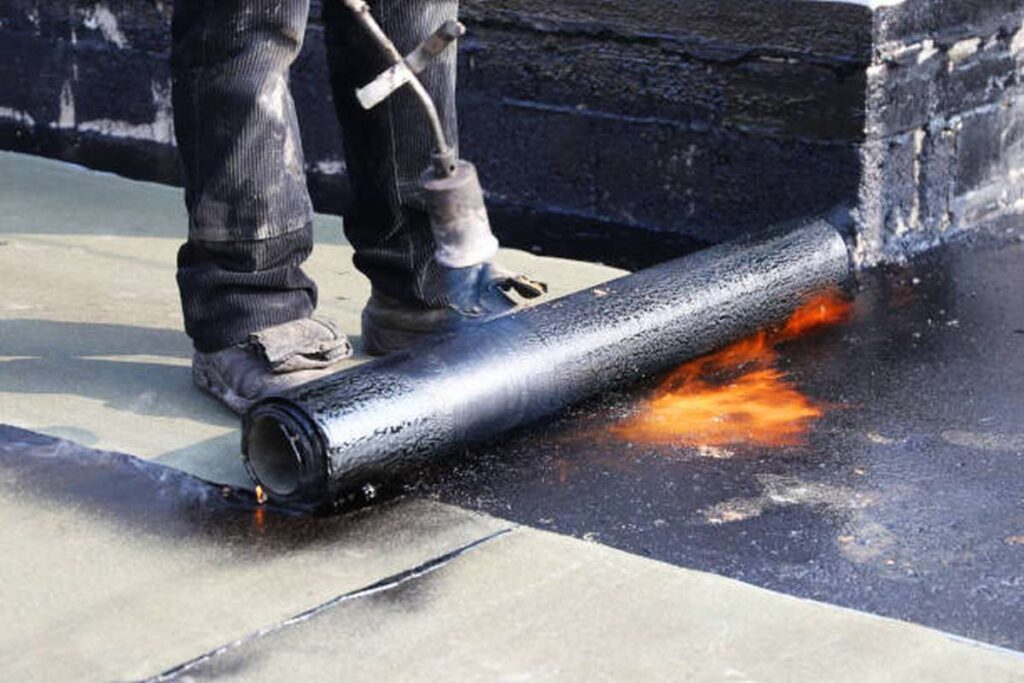
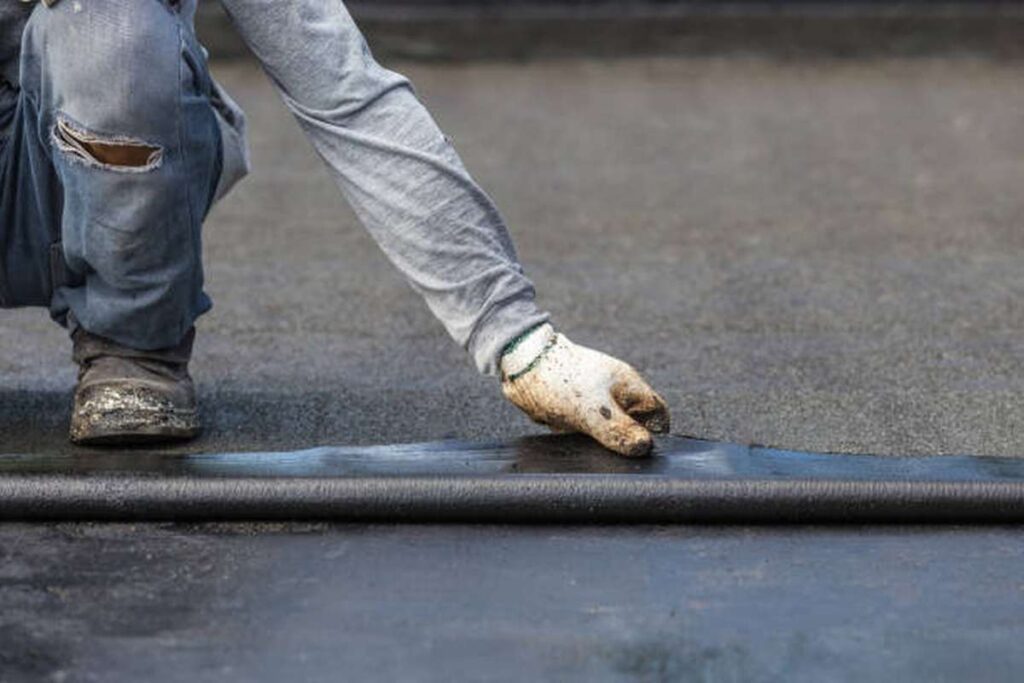
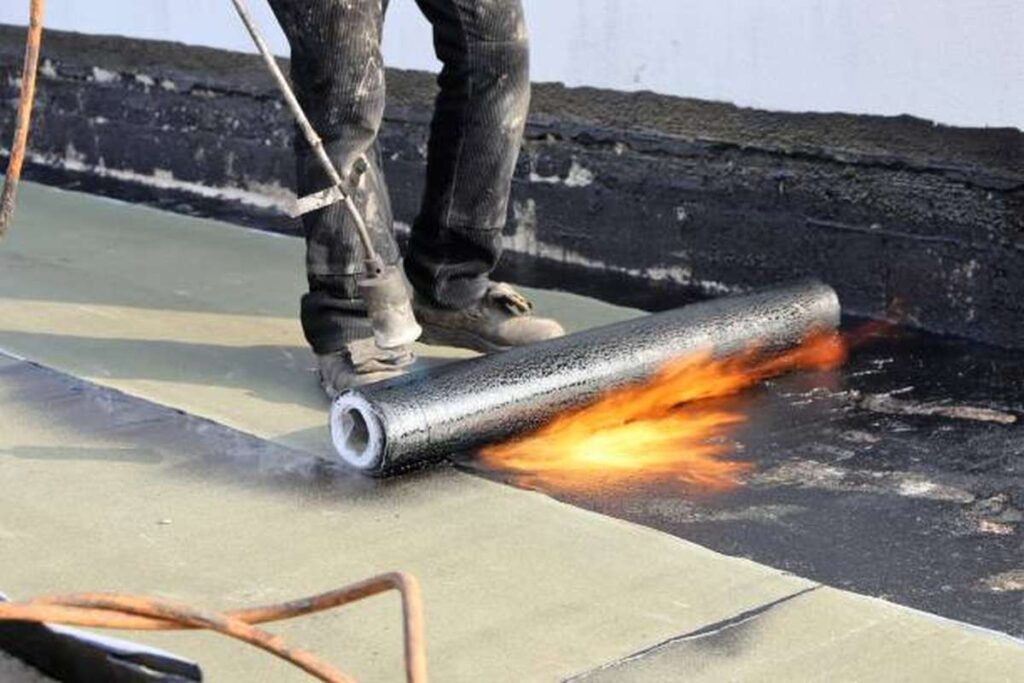
- When the garage is being constructed, a waterproof membrane is put to the underside of the concrete slab. This stops any moisture flow at its point of origin and ensures that the garage remains dry.
- Tiles made of polypropylene that are used for garage floors are resistant to both water and spills.
How To Waterproof A Garage Using Cementitious Tanking
Tanking slurry, or cementitious tanking, is another name for this effective technique. Some individuals choose to refer to it by these names. It doesn't cost a lot but has a high return on investment. The detailed instructions for installing it on your garage walls are provided.
Get Your Fences in Order
Before beginning the process of waterproofing, the first thing you need to do is make sure that your garage walls are prepped. You will need to verify that the wall is free of any paint, coating, dust, and plaster before you can begin. All the original bricks should be on display so that it looks like it was just built.
You can use a sealant to patch up the wall if it has any holes or cracks in it. This will make the wall more watertight. After this step is complete, your wall should be completely smooth and free of any damage.
Get Ready To Tank Up The Slurry
No matter where you choose to purchase your tanking slurry, it will almost definitely be in powder form, and you will be needed to mix it on the area where it will be utilised. To achieve this, you must make sure that the chemical never comes into contact with any portion of your skin. You need to protect yourself by putting safety goggles, a face mask, and covering any areas of exposed skin.
Instructions for preparing the tanking slurry can be found on the container's label; these should be followed precisely to avoid mistakes and unexpected results. Remember that slurry is useless after around 45 minutes after mixing, however this time can vary depending on the brand. It's important to avoid making more than you need because you'll have to dispose of any extras.
Start by filling a suitable container (a box, can, etc.) with clean water, then add the tanking. After that, pour in exactly the amount called for by the recipe and slowly add the powder while stirring.
When adding the powder, you can use a drill and mixing paddle to thoroughly incorporate everything, but the drill speed must be kept low to prevent damaging the paddle.
After you've finished adding the powder, keep mixing for another three minutes to ensure a smooth final product. After waiting a minute for the ingredients to settle, stir them together once more. Once it is done, it may be put into action.
Wet Your Walls
It is recommended that all tanking slurry mixes be added to moist walls. The mixture will flake and peel away from your walls if they are dry. Before beginning the application, you should first wet your walls with clean water, but you should take care not to overwrite them.
You want the walls to be somewhat damp rather than completely drenched in water. Before applying the mixture, check to see that the surfaces do not have any pools of water standing on them.
Attend to the Flaws
After the wall has been saturated and the tanking slurry has been made, you can start working on the weak points, commonly known as the wall-floor junctions. As these are the most likely places for leaks to originate, addressing them is essential for a successful garage waterproofing project.
The simple act of following your feet around the room will do the trick. If you have to, you can even cut a chase (0.8 inches by 0.8 inches) into the wall if you need to. When you're done, clear out the chase and throw away any garbage you find.
Spread your tanking slurry in an even layer four inches thick along the floor and up the walls. After the chase has been filled, a sealer should be placed on top to keep it from drying out. With this method, you'll be able to keep water out of the building by sealing off the area where the wall meets the floor. If the floor is waterproof or you plan to waterproof it, you can skip this step.
Tanking Slurry, Please.
Depending on the mixture's composition and the wall's existing state, the tanking slurry may need to be applied in two or more coats. Here are the detailed directions for completing both levels.
Phase of Introduction
Apply the slurry in a thin coat, moving horizontally across the bricks' surface. Whatever type of paintbrush or roller you employ, you can successfully complete the task at hand.
You can use the slurry to protect your valuables and the walls up to a height of forty inches in the event of a flood. Going higher is acceptable, but going lower could put you in harm's way.
After applying the slurry to the wall up to the floor-wall joint, you must do this by cutting a slit in the floor about four inches wide in order to direct water away from potential weak spots.
There's a neat trick you can employ to ensure that the second coat thoroughly covers the first. Tanking slurries are typically a murky grey or transparent watery colour. If you buy both colours, you may make each layer a different hue. This will let you check off every item on your list and make sure nothing was overlooked.
Layer Two
It's important to wait until the first coat has dried before applying the second. The slurry is the main element in deciding how long it will take, which might be anything from two hours to half a day. You can't apply a second layer until the first one is completely dried. Because of this, it is now time to paint the second layer. If this doesn't happen, it'll fall off since it can't handle the extra weight.
Having stated that, the first application of the layer shouldn't be delayed for more than 24 hours. Even if the second one doesn't look wet, use it as soon as feasible.
Stroke the slurry in a vertical direction to spread it, and don't forget to apply it to the seam between the floor and the wall.
Completing the Waterproofing Process
After applying both layers of tanking slurry, the wall will need at least two days to cure. In some spots, you may see some dampness on the wall, but this is nothing to worry about. Sweating is the common term for this occurrence. In general, it takes two days, but it could take anything from one to four days depending on the permutations.
Please let the slurry dry for a full day before beginning the finishing process. The slurry can then dry up completely. Then, in a large mixing container, blend together one part cement and three parts rinsed sharp sand to make a render mix. The typical thickness of this render used for tanking slurries is between 0.6 and 0.4 inches.
If you plan on painting your garage, you should avoid doing it directly above the tanks. Instead of using multi-finish, you may try dabbing some plasterboard.
Possible Substitutes for Tanking Slurry in Garage Waterproofing
The most successful form of waterproofing is to use tanking slurry, although there are other, simpler methods. Having them on hand is a good idea if you have no idea how to mix tanking or apply it. Listed below are the three most common methods now in use.
Waterproofing as Clear as a Crystal
The first option is a crystalline concrete coating, which is designed to last for many years without needing to be reapplied. The procedure causes insoluble crystals to grow inside the cracks and pores of the wall, creating a barrier that is impenetrable to water. Inconveniently, the crystals keep growing everytime they're exposed to water, thus the sealant keeps improving over time.
If your wall starts to crack, you may always activate the crystals to make the cracks go away on their own.
Roofing Shingles Made of Polypropylene
Even if you're not willing to make changes to the garage's walls, you may at least take steps to prevent mould and other moisture-related problems by waterproofing the floor.
Polypropylene flooring tiles can withstand some moisture and may be cleaned easily after a spill. Therefore, if you are not cheap-minded, use them to remodel your garage floor. They will not only have an air of refined sophistication, but they will also keep water out, so everyone wins.
Anti-Leak Epoxy
A possible solution to your garage problem could be as simple as applying waterproof epoxy. It will take a few days for the product to fully cure after being applied to your wall.
There are a variety of upsides to using epoxy. First, it stops water from damaging the garage walls, and second, it's impact-resistant, so it can take all the abuse you can dish out.
In addition, you can forget about rust appearing on these walls any time soon because epoxy is resistant to corrosion. The coating also protects walls against oil, solvents, and other harmful substances.
If you choose not to use epoxy, you can get waterproof paint that will do the trick (but not as well).
Important Things For Garage Floor Waterproofing
Applying many coats of coating to your garage floor will not only make it seem better, but will also extend its life. Waterproofing a garage floor, for instance, will make the floor look better and last longer. Each of them is an advantage that can be gained by waterproofing the floor. Waterproofing the floor of the garage makes it far more difficult for liquid to penetrate the floor and cause damage to the subfloor or ceiling below. This may have an effect on your budget because you won't have to repair your floor as often after it's been chipped or scraped.
Do-It-Yourself vs. Expert Help
You may either do it yourself or hire a professional to apply the coating to the garage floor. Every one of these options comes with its own set of benefits and drawbacks.
It's possible to get everything done without breaking the bank if you instal the garage floor on your own. The economy no longer threatens your stability. But the risks are yours to bear as well. In the event that something does go wrong, you should be ready to cope with the fallout. Individuals without experience with garage floor coating should not go with this choice. It's preferable to hire a pro if you don't have any experience with this sort of work.
By hiring an expert, you can rest assured that the finished product will look and function just how you want it to. Such precision, however, does not come cheap, and you will almost probably need to set aside more dollars to accomplish this work.
Several Waterproof Choices
If you take the time to waterproof your garage floor, you can be assured that it will last a long time, be resistive to wear, and be solid under foot. Do you realise that you can go in a few different directions?
To avoid having to constantly reapply the chemical, you can use crystalline concrete. The crystals in crystalline concrete develop with the concrete, sealing any cracks or holes as they expand. It will result in an impermeable surface. The crystals can be reactivated as cracks occur, sealing up the holes and maintaining the waterproofing properties.
It's also possible to apply epoxy or weatherproof paint. The process is straightforward because you need only spread the paint (or epoxy) on the ground. The next step is to let it dry and cure for a few days.
A waterproof membrane is an alternative. Moisture is prevented from penetrating the concrete by placing a barrier on its underside.
The use of polypropylene garage floor tiles, which can withstand moisture and spills, is another choice. Be sure you grasp the distinction before settling on a system.
Conclusion
Waterproofing the garage floor will protect your investment and provide you peace of mind. If you haven't yet waterproofed the floor of your garage, there are a few things you should know. This blog post will go over some of those critical points in further depth. You must ensure that the tanking never comes into contact with any portion of your skin. The chemical is useless after around 45 minutes after mixing, however this time can vary depending on the brand.
You can use tanking slurry to protect your valuables and the walls up to a height of forty inches in the event of a flood. It can be applied in two or more coats depending on the mixture's composition and the wall's existing state. Tanking slurries are typically a murky grey or transparent watery colour. If you buy both colours, you may make each layer a different hue. The slurry is the main element in deciding how long it will take, which might be anything from two hours to half a day.
Crystalline concrete coating is designed to last for many years without reapplying. Waterproof epoxy stops water from damaging the walls and is impact-resistant. Polypropylene flooring tiles can withstand some moisture and may be cleaned easily after a spill. If you take the time to waterproof your garage floor, you can be assured it will last a long time and be resistive to wear. It's possible to get everything done without breaking the bank if you instal the garage floor yourself. Hire a pro if you don't have any experience with this sort of work.
Content Summary
- Waterproofing the garage floor will protect your investment and provide you peace of mind.
- This is an excellent way to protect your investment.
- If you haven't yet waterproofed the floor of your garage, there are a few things you should know before you start.
- This blog post will go over some of those critical points in further depth.
- How To Waterproof Your Garage FloorIt's probable that your garage floor is constantly subjected to strenuous operations like lifting heavy goods.
- Waterproofing OptionsWhen it comes to waterproofing your garage, you have a number of various alternatives available to choose from.
- When the garage is being constructed, a waterproof membrane is put to the underside of the concrete slab.
- Tiles made of polypropylene that are used for garage floors are resistant to both water and spills.
- Before beginning the process of waterproofing, the first thing you need to do is make sure that your garage walls are prepped.
- This will make the wall more watertight.
- Get Ready To Tank Up The SlurryNo matter where you choose to purchase your tanking slurry, it will almost definitely be in powder form, and you will be needed to mix it on the area where it will be utilised.
- with clean water, then add the tanking.
- After waiting a minute for the ingredients to settle, stir them together once more.
- Wet Your WallsIt is recommended that all tanking slurry mixes be added to moist walls.
- The mixture will flake and peel away from your walls if they are dry.
- Attend to the FlawsAfter the wall has been saturated and the tanking slurry has been made, you can start working on the weak points, commonly known as the wall-floor junctions.
- Spread your tanking slurry in an even layer four inches thick along the floor and up the walls.
- With this method, you'll be able to keep water out of the building by sealing off the area where the wall meets the floor.
- Tanking Slurry, Please.
- Depending on the mixture's composition and the wall's existing state, the tanking slurry may need to be applied in two or more coats.
- Phase of IntroductionApply the slurry in a thin coat, moving horizontally across the bricks' surface.
- You can use the slurry to protect your valuables and the walls up to a height of forty inches in the event of a flood.
- After applying the slurry to the wall up to the floor-wall joint, you must do this by cutting a slit in the floor about four inches wide in order to direct water away from potential weak spots.
- There's a neat trick you can employ to ensure that the second coat thoroughly covers the first.
- Layer TwoIt's important to wait until the first coat has dried before applying the second.
- You can't apply a second layer until the first one is completely dried.
- Because of this, it is now time to paint the second layer.
- Having stated that, the first application of the layer shouldn't be delayed for more than 24 hours.
- Stroke the slurry in a vertical direction to spread it, and don't forget to apply it to the seam between the floor and the wall.
- Completing the Waterproofing ProcessAfter applying both layers of tanking slurry, the wall will need at least two days to cure.
- Please let the slurry dry for a full day before beginning the finishing process.
- The first option is a crystalline concrete coating, which is designed to last for many years without needing to be reapplied.
- Polypropylene flooring tiles can withstand some moisture and may be cleaned easily after a spill.
- Therefore, if you are not cheap-minded, use them to remodel your garage floor.
- Anti-Leak EpoxyA possible solution to your garage problem could be as simple as applying waterproof epoxy.
- There are a variety of upsides to using epoxy.
- Waterproofing a garage floor, for instance, will make the floor look better and last longer.
- Each of them is an advantage that can be gained by waterproofing the floor.
- Waterproofing the floor of the garage makes it far more difficult for liquid to penetrate the floor and cause damage to the subfloor or ceiling below.
- You may either do it yourself or hire a professional to apply the coating to the garage floor.
- It's possible to get everything done without breaking the bank if you instal the garage floor on your own.
- Individuals without experience with garage floor coating should not go with this choice.
- It's preferable to hire a pro if you don't have any experience with this sort of work.
- Several Waterproof ChoicesIf you take the time to waterproof your garage floor, you can be assured that it will last a long time, be resistive to wear, and be solid under foot.
- The crystals in crystalline concrete develop with the concrete, sealing any cracks or holes as they expand.
- It's also possible to apply epoxy or weatherproof paint.
- The process is straightforward because you need only spread the paint (or epoxy) on the ground.
- A waterproof membrane is an alternative.
- The use of polypropylene garage floor tiles, which can withstand moisture and spills, is another choice.
- Be sure you grasp the distinction before settling on a system.
Frequently Asked Questions About Garage Floor
Because garage floors are protected from outdoor elements, they generally need to be sealed as often as a concrete driveway. However, most garage floors are made from concrete, making them susceptible to cracking and moisture intrusion from oil spills, antifreeze leakage, and other household chemicals.
The final step in waterproofing your concrete basement floors is painting them with waterproof paint. Mix the paint and pour it into the paint tray. Use a regular paintbrush to apply the paint to the floor to not neglect any divots. Use a roller to even the paint or to apply a second coat.
The most commonly used material for garage floor sealing is epoxy floor paint. However, this isn't your only option. Other garage floor sealing options include acrylic, siloxane, and polyurea—each type of sealer results in a different finish.
Concrete's porous nature means that water from under your home can seep up through your concrete floor, making it damp. Sealing the concrete can help eliminate the dampness on your floor.
Floors of concrete or compressed fibre cement sheet flooring are required to be water-resistant. In addition, timber floors, including particle board plywood and other materials, require waterproofing of the whole floor.